Fitting Help
|
Videos must be viewed in the external Browser as the in game browser will not play them.
Feel free to visit our web site at: www.eternitiesend.weebly.com On your external browser to view all parts of the web site as they are intended. |
|
General Combat Mission Hints If you lose your own ship during a mission and you feel you will be unable to complete the rest of it, bookmark the location of your ship wreck before canceling the mission. NPCs do not attack pods, so resist the urge to warp away as soon as your ship is destroyed and take a second or two to bookmark the location before returning to the nearest station. Due to can persistence, your surviving equipment will remain in your can at the location, even after the mission has been canceled and the NPCs are gone. Just don't wait too long, as wrecks/containers will be destroyed after 1-2 hours.
Do not make the decision to cancel a mission lightly. Canceling a mission has an impact which can be far greater than the loss of surviving modules. Consider enlisting assistance to finish the mission. Keep in mind, it may take multiple storyline missions to make up for one Failed or Canceled mission.
Finally, always be wary when running missions after patches and extended daily downtimes as they can change significantly.
It is usually safer and faster to change ship sizes and types depending on the level of the combat mission you are attempting. Depending on skill, experience and preferences, several ship classes may be used on the same mission type. Bold ship is de facto default for the level. In some missions, the bold ship also represents the maximum ship size allowed through the gate.
Level 1
Level 2
Primary Ship: Cruiser
Alternate Ships: Assault Frigate (AF), Destroyer, Battlecruiser (BC), Heavy Assault Ship (HAC)
Alternate Ships: Assault Frigate (AF), Destroyer, Battlecruiser (BC), Heavy Assault Ship (HAC)
Level 3
Battlecruiser (BC), Heavy Assault Ship (HAC), Battleship
Don't trust all Battle cruisers. While all of them may work for level three missions the Amarr Harbinger, Caldari Drake, Gallente Myrmidon, and the Minmitar Hurricane have a much stronger tank and can even solo several level four missions.
Don't trust all Battle cruisers. While all of them may work for level three missions the Amarr Harbinger, Caldari Drake, Gallente Myrmidon, and the Minmitar Hurricane have a much stronger tank and can even solo several level four missions.
Level 4
Marauder, Battleship, Faction Battleship
You will find a very wide variety of opinions on how to fit a battleship and which ones are good for level four missions. To be safe I would shoot for a Navy Faction Battleship. Make sure you have strong resistances and an active repairer. Put Capacitor recharging modules on it until the fitting screen says stable (or at least close to stable). This will ensure that you can take the hits keep repairing and get out if you need to.
You will find a very wide variety of opinions on how to fit a battleship and which ones are good for level four missions. To be safe I would shoot for a Navy Faction Battleship. Make sure you have strong resistances and an active repairer. Put Capacitor recharging modules on it until the fitting screen says stable (or at least close to stable). This will ensure that you can take the hits keep repairing and get out if you need to.
Level 5
Group of players with Marauders, Battleships, Command ships , Logistics ship - Ship Setups.
Knowing what you will encounter will dictate the set-up of your ship. The various online mission guides and resources are a fantastic source of information about ship configurations and tactics for missions. I strongly suggest reviewing these sites before starting, as well as keeping your own notes about what works for you (and what does not).
There are no right ships or fittings to use for missions, but there are certainly wrong ones. Players have their own preferences and skills, and different missions require different tactics and fittings. It is beyond the scope of this guide to discuss all possible combinations, but we will make a few suggestions.
With the current mix of missions, you can expect to encounter almost any enemy, from Angel to Serpentis, or even Concord and empire navies if you are working for pirate factions. You are not limited to the type of ships you would expect to encounter in the region's belts, so you need to be prepared to fight all opponents.
Your first step in fitting out your ship should be to identify the damage dealt by your enemy and fit the defenses you will need to survive against the attack. Next, load the appropriate offensive modules to obliterate them; your choice of tactics will determine the rest of your ship's fitting.
Example: If you want to snipe, you should try and aim for a fitting that will allow you to get to your preferred distance while not losing the ship. The nature of the mission will also affect the tactics you employ. If you have a regular-space "Kill" mission then you can easily control your warp-in distance and arrive at a suitable location for your setup. For "deadspace" encounters you may be deposited in the middle of a swarm of NPCs without the ability to speed out of trouble, so you will need to be able to tank the damage.
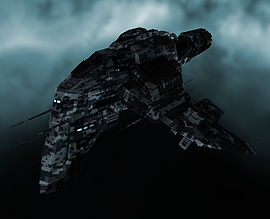
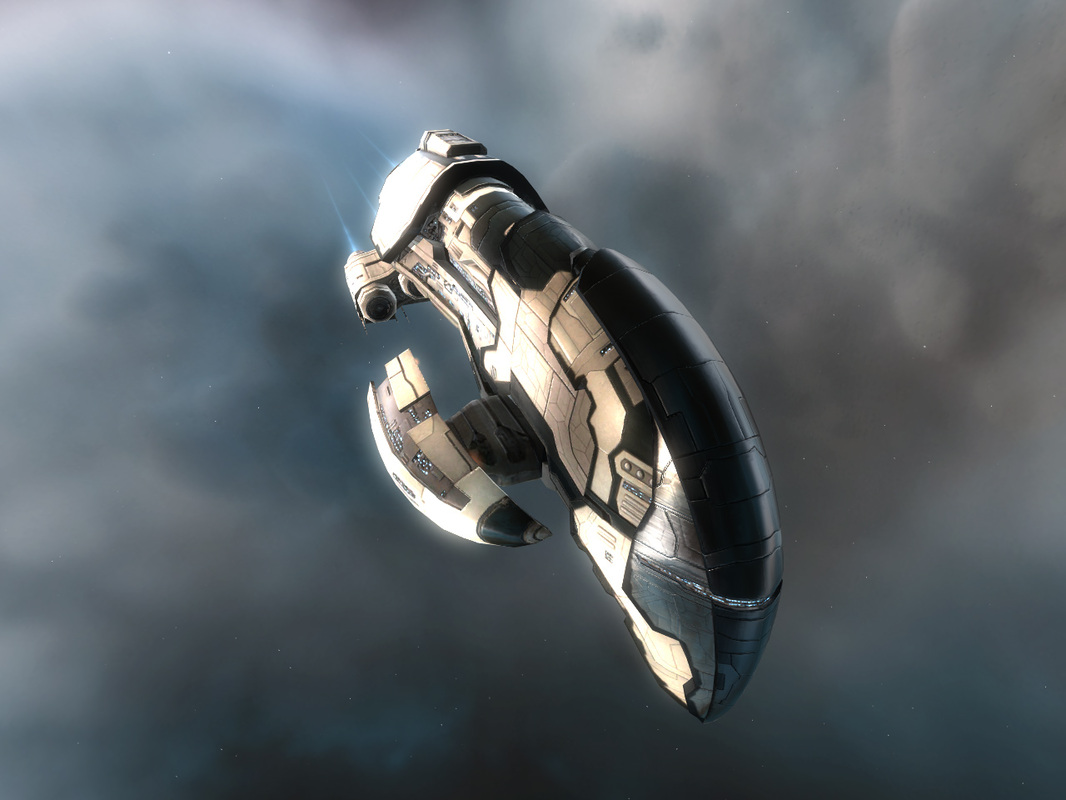
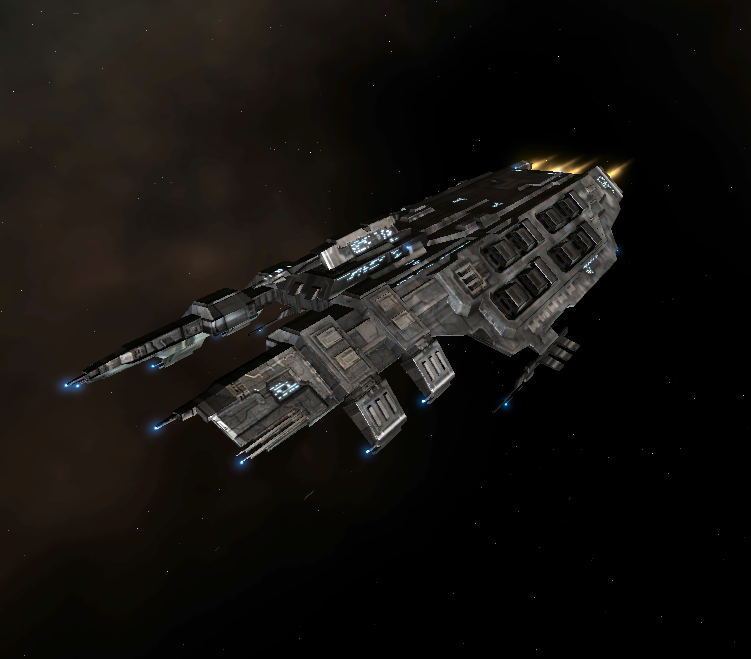
Don't be afraid of changing your ship set-up between missions, or even during one. Sometimes you need different damage resistances or different tactics to be able to complete a single mission. Also, the same can be said of the different stages of some missions. Taking this a step further, some dedicated mission runners have multiple ships, each one already set up for specific mission types. Rather than having to refit your ships for each mission, you can select a ready-configured vessel. This greatly decreases the turnaround time but is far from the cheapest option. Knowing what to fit and when to fit it is the key to successful and efficient mission running. Here is a chart with the four races advantages at mission running, as well as the most used mission running ships. That doesn't mean you can't use others if you so desire of course, that is only a matter of taste.
Race attributes:
Race Advantages Drawbacks
Amarr No/less reloading, good tanking (armor), efficient against Sansha, Blood Raiders. Poor damage against all other factions, cap-intensive weapons.
Caldari Missile ships, good shield tanking. Excellent sniping platforms. Defensive missiles launched by NPCs reduce damage output.
Gallente Drone ships, good damage with hybrid setups. Drone management isn't that easy.
Minmatar No capacitor used for weapons, great alpha strike, good mobility. Mixed tanking slot layout. Sample of mission running ships:
Race
|
Advantages
|
Drawbacks
|


|
Missile ships, good shield tanking. Excellent sniping platforms.
|
Defensive missiles launched by NPCs reduce damage output.
|

|
Drone ships, good damage with hybrid setups.
|
Drone management isn't that easy and requires a lot of skill training.
|

|
No capacitor used for weapons, great alpha strike, good mobility.
|
Mixed tanking slot layout makes it harder to Tank.
|
